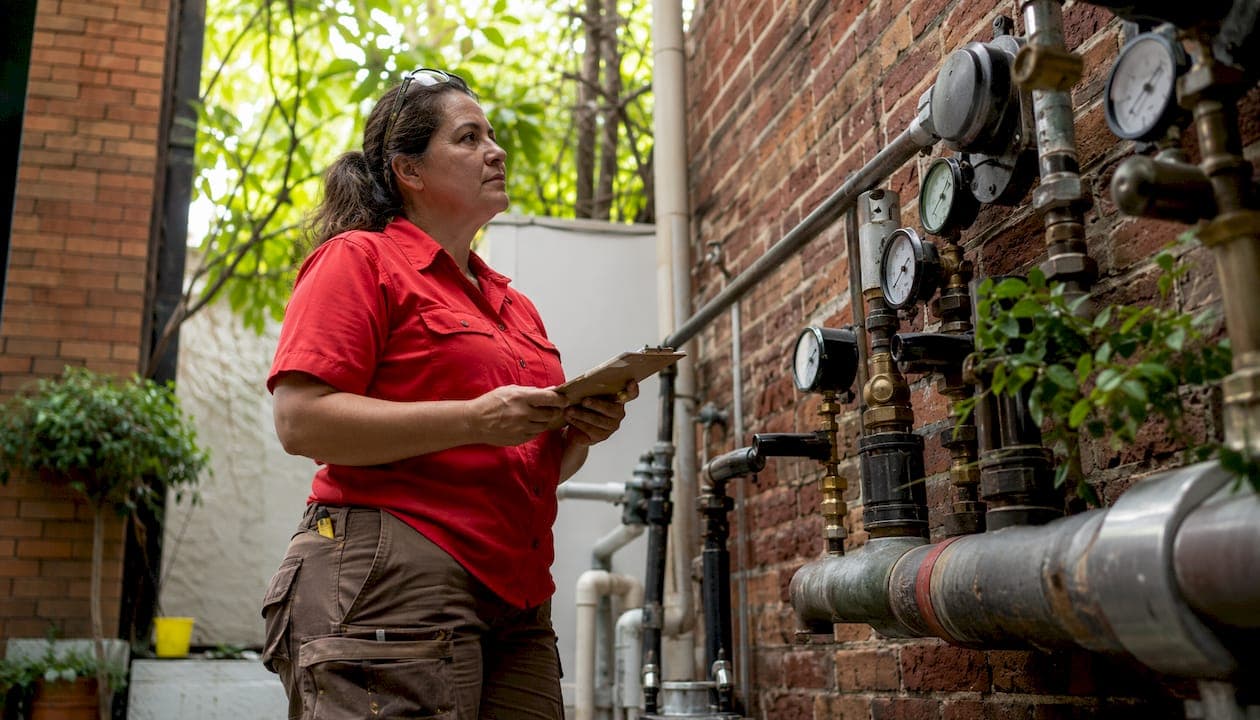
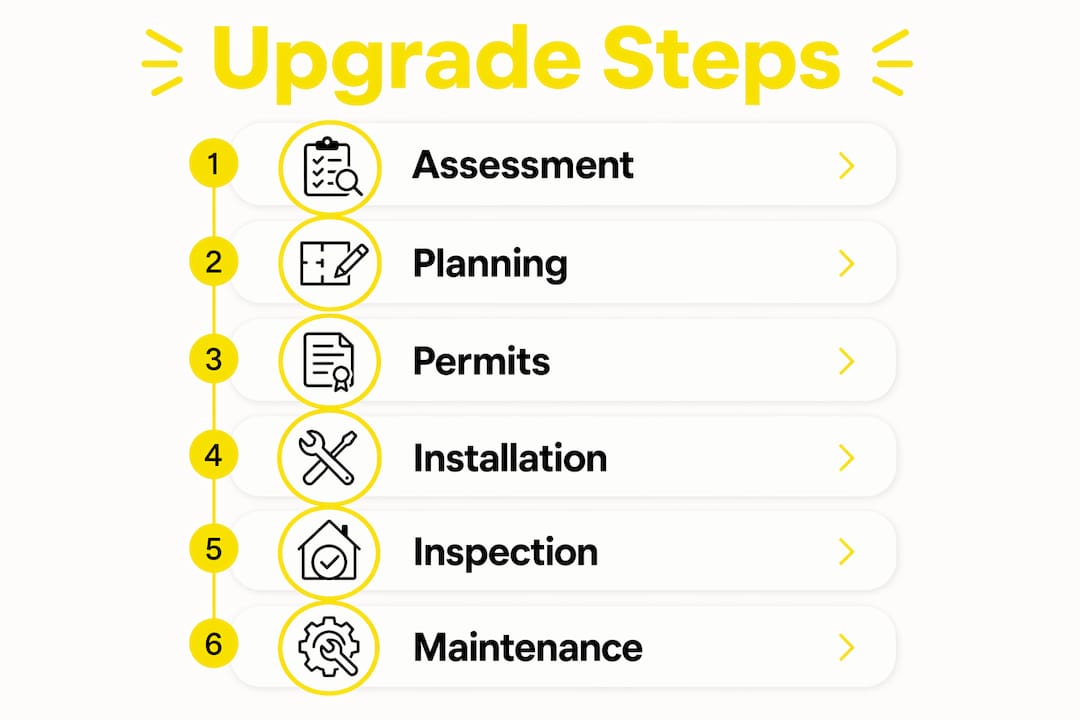
Start with a master-plumber assessment before you sign a lease or pull a single permit. That one step, more than any fixture upgrade or pipe replacement, determines whether your project finishes on budget or blows past it. Most restaurants need a staged commercial upfit that sequences grease and backflow first, then supply sizing, then a phased install scheduled around your operating hours.
Three things to do right now:
- Schedule a licensed master plumber for an on-site assessment before committing to a space or scope.
- Gather equipment spec sheets and calculate peak simultaneous water and gas loads.
- Pull any existing permits, as-built drawings, or prior inspection records from the landlord or local building department.
Documents to have ready for your contractor or inspector:
- Lease plans or architectural drawings showing kitchen layout
- Equipment spec sheets (dishmachine, steamers, fryers, combi ovens)
- Previous permits or as-built drawings from prior operators
- Grease trap or interceptor service records
- Utility account numbers for gas and water (meter size confirmation)
Table of Contents
- How do you audit a restaurant's existing plumbing before upgrading?
- What plumbing problems signal it's time for a full upgrade?
- What permits and inspections does a restaurant plumbing upgrade require?
- How should you design drainage and grease management by kitchen zone?
- How do you size hot water, supply lines, and gas for peak restaurant demand?
- Which materials and fixtures hold up best in a commercial kitchen?
- What do restaurant plumbing upgrades actually cost and how long do they take?
- How do you hire and manage a commercial plumbing contractor?
- What does Mysticvalleyservices recommend before you commit to a space?
- Key Takeaways
- The case for starting with the assessment, not the demo
- Mysticvalleyservices handles restaurant plumbing upgrades in Massachusetts
- Useful sources and further reading
How do you audit a restaurant's existing plumbing before upgrading?
A professional assessment covering water-pressure testing, drainage flow calculations, and grease-trap capacity verification is the only reliable way to catch undersized components and code violations before they cause an emergency shutdown. Walking a space without that data is guesswork.
What to inspect on-site
Start at the water service entry: confirm meter size, static pressure at the meter, and whether the main shutoff is accessible and functional. Move to the distribution system and note pipe diameters, material, and visible corrosion. Check every vent stack termination, look for improper horizontal venting, and confirm that waste-line slopes meet the minimum 1/4 inch per foot for horizontal runs. Locate the existing grease trap or interceptor, and ask for the last three service records.
Diagnostic tests a licensed plumber should run
- Static and dynamic pressure testing: Static pressure at the meter and residual pressure at the most remote fixture under simultaneous load. Anything below 20 psi at the fixture under peak flow is a red flag.
- Fixture-unit calculations: Total fixture units per the IPC to confirm the existing service and meter can handle your full equipment list. See pipe sizing fundamentals for the calculation framework.
- CCTV drain inspection: Camera the main waste line and any buried laterals. Root intrusion, offset joints, and grease buildup are invisible until they back up during a dinner rush.
- Dye or smoke testing: Identifies cross-connections, improper venting, and sewer-gas entry points.
- Grease-interceptor capacity verification: Confirm the existing unit's rated capacity against your projected fixture-unit load and menu type.
On-site assessment data table
| Item | What to measure | Target / code minimum | Notes |
|---|---|---|---|
| Static water pressure | psi at meter | 40 psi– | Below 40 may require booster |
| Residual pressure (peak) | psi at remote fixture | ≥ 20 psi | Test with simultaneous loads |
| Waste-line slope | inches per foot | ≥ 1/4 in/ft | Verify with level |
| Grease interceptor capacity | gallons per minute (GPM) | Per fixture-unit calc | Match to menu load |
| Main drain condition | CCTV findings | No offsets, root intrusion | Document with video |
| Vent termination | Location and clearance | Per IPC and local code | Check roof clearances |
Document everything before you commit
Demand a written condition report with photos and tagged pipe runs before signing a lease or authorizing demolition. If the plumber finds that the gas meter needs upsizing or the main sewer lateral requires excavation, get a signed scope and cost estimate for that work specifically. Those two items alone can add months to a timeline and easily exceed $20,000 in remediation costs.
Pro Tip: If the assessment reveals that the building requires a new gas service or main sewer excavation, treat those as go/no-go items in your lease negotiation. Landlords sometimes share remediation costs when the issue predates your tenancy — but only if you discover it before signing.
What plumbing problems signal it's time for a full upgrade?
Frequent clogs and slow drains are annoying. Repeated sewer backups, persistent foul odors, and chronic hot-water shortages during service are signals that the system itself is the problem, not the last thing that broke. Knowing the difference saves you from patching a system that needs replacement.
Common failure modes in commercial kitchens:
- Frequent sink or dishmachine clogs that return within days of clearing
- Sewer backups during peak service hours (a classic sign of undersized or grease-blocked mains)
- Persistent sulfur or sewer odors in the kitchen or dining room (venting failure or dry floor-drain traps)
- Hot water running out mid-service despite a recently serviced water heater
- Grease-trap overflows between scheduled service visits
- Unpermitted gas modifications discovered during a health inspection
Signs that repair is no longer enough:
- The water service or meter is undersized for your full equipment list running simultaneously
- Vent stacks terminate improperly or are shared with incompatible fixtures
- The main waste stack is corroded cast iron with repeated joint failures
- The space has accumulated multiple code violations across inspection cycles
- The grease interceptor is undersized for your menu load and cannot be upsized in place
A useful walk-through checklist: check every floor drain for proper trap seal, run all sinks simultaneously and note pressure drop, ask the prior operator how often the grease trap was pumped, and look for any PVC repairs spliced into cast-iron mains (a sign of repeated emergency fixes rather than planned maintenance).
Reviewing common restaurant plumbing mistakes before your walk-through gives you a sharper eye for the issues that operators most often miss until they become expensive.
What permits and inspections does a restaurant plumbing upgrade require?
Commercial plumbing upfits require permitting through local code enforcement, and systems must be approved and tested for grease interceptors and backflow prevention per local water regulations. The International Plumbing Code (IPC) sets the baseline, but every jurisdiction layers local amendments on top, and your local health department adds its own plumbing requirements for food-service operations.
Permit milestones in sequence
- Pre-permit code check: Confirm local amendments to the IPC, health-department plumbing requirements, and water-authority rules for grease and backflow before drawing a single plan.
- Permit submission: Submit plans with a complete fixture schedule, grease-interceptor sizing calculations, and backflow-preventer specifications.
- Rough-in inspection: Inspector verifies pipe sizes, slopes, cleanout locations, vent connections, and interceptor placement before walls close.
- Pressure and flow testing: Witnessed pressure test on supply lines; flow test on waste system.
- Final inspection: Confirms all fixtures are installed, labeled, and operational; grease interceptor is accessible and documented.
- Certificate of occupancy update: Required in most jurisdictions when a change of use or significant system modification occurs.
What inspectors focus on in restaurant spaces
Health-department inspectors and building inspectors often visit the same project with different checklists. Building inspectors focus on IPC compliance: pipe sizing, venting, cleanout access, and backflow-preventer installation. Health-department inspectors focus on three-compartment sinks, dedicated handwash stations, grease-interceptor service records, and proper floor-drain placement relative to food-prep areas.
Pro Tip: Submit your grease-interceptor sizing calculations with your permit application, not as a response to a comment. Inspectors who see the math upfront approve faster and ask fewer questions during rough-in.
For a deeper look at the compliance pain points owners most often underestimate, the plumbing code compliance guide covers local amendment traps and documentation requirements by project type.
How should you design drainage and grease management by kitchen zone?
Zone-by-zone drainage design is where most restaurant plumbing upgrades either succeed or fail. A system sized for a sandwich shop cannot handle a full-service kitchen running fryers, a combi oven, and a high-temperature dishmachine simultaneously. Get the zones right, and the interceptor and maintenance schedule almost design themselves.
Grease trap vs. interceptor: sizing and placement
Interior grease traps (under-counter or floor-mounted) suit lower-volume operations with limited fatty-food output. Exterior interceptors, buried outside the building, handle the full fixture-unit load of a high-volume kitchen. Sizing is based on fixture-unit load and menu type: a high-fat menu with fryers, griddles, and a full dish line needs a larger interceptor and more frequent hauler service than a café or sandwich concept.
Interior trap vs. exterior interceptor at a glance:
- Interior trap: Lower installed cost ($2,000–$6,000), requires weekly to monthly pumping, suited to low-to-moderate grease loads
- Exterior interceptor: Higher installed cost ($10,000–$30,000 or more with excavation), pumped on a scheduled hauler plan (typically every 30–90 days depending on load), required by most jurisdictions for full-service restaurants
Zone-by-zone placement guidance
Dish line: The dishmachine drain and pre-rinse station are the highest-volume grease contributors after the cook line. Route both through the interceptor. Place a floor drain with an accessible strainer immediately adjacent to the machine.
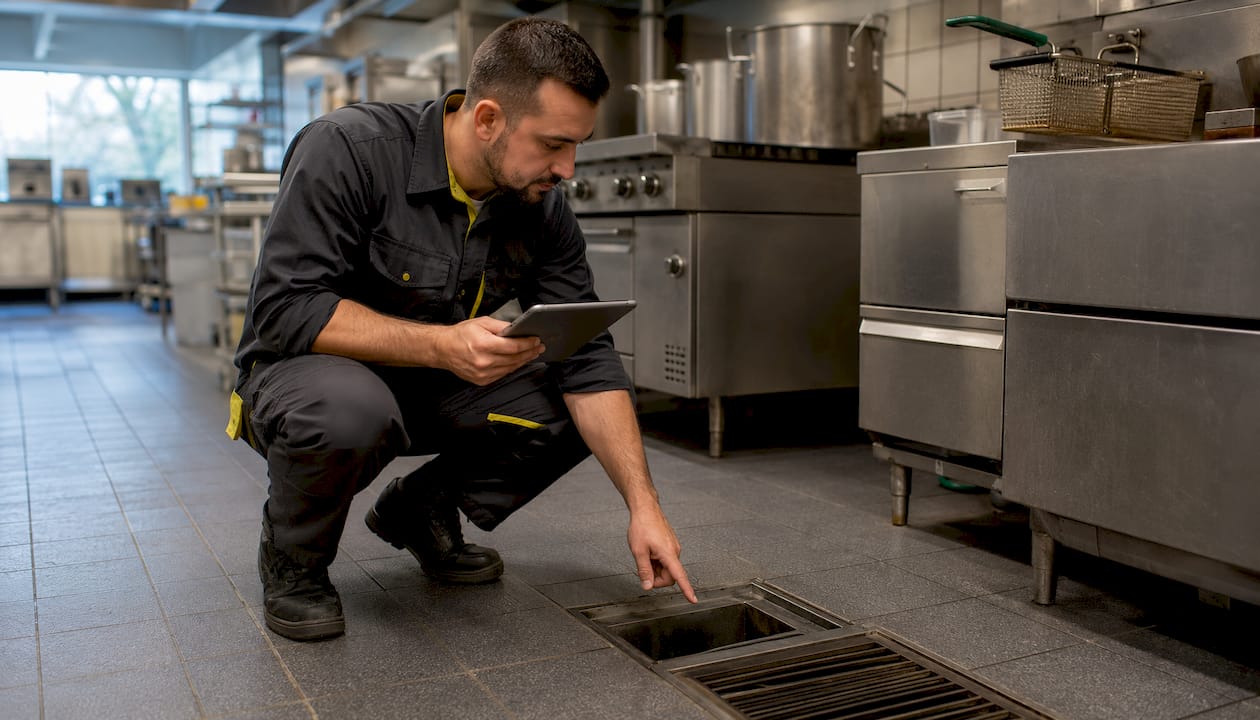
Cook line: All floor drains under fryers, griddles, and ranges must route to the interceptor. Slope floor drains at 1/4 inch per foot minimum. Install cleanouts at every direction change.
Prep line: Prep sinks and vegetable sinks typically carry lower grease loads but still require interceptor routing in most jurisdictions. Confirm with your local health department.
Walk-in coolers and freezers: Floor drains in walk-ins route to the sanitary system but typically bypass the grease interceptor. Confirm local requirements; some jurisdictions require an indirect waste connection with an air gap.
Mop sink: Route to sanitary, not through the interceptor. Locate away from food-prep areas per health-code requirements.
Sizing example and maintenance schedule
| Kitchen type | Fixture units (approx.) | Interceptor size (GPM) | Interior or exterior | Pumping frequency |
|---|---|---|---|---|
| Small café (2 sinks, low-fat menu) | 12 FU– | 20 GPM– | Interior trap | Monthly |
| Fast-casual (dish line, moderate fat) | 25 FU– | 50 GPM– | Interior or exterior | Every 2–4 weeks |
| Full-service restaurant (full cook line) | 50 FU– | 100 GPM– | Exterior interceptor | Every 30 days– |
How do you size hot water, supply lines, and gas for peak restaurant demand?
A water heater sized for a residential building will fail a commercial dish cycle in the first week of service. Dishmachine recovery rates and peak handwash demand must drive heater selection, not square footage or seat count.
Translating equipment specs into demand
Start with the dishmachine spec sheet. A standard high-temperature conveyor machine may require 70–100 gallons of hot water per hour at 140°F, plus a booster to reach 180°F at the final rinse. Add simultaneous demand from prep sinks, pot sinks, and handwash stations. The water heater's recovery rate (gallons per hour at a given temperature rise) must meet or exceed that total without depleting the storage tank during a two-hour peak service window.
Pro Tip: When in doubt, oversize the water heater by one recovery-rate tier. The cost difference between a 100 GPH and a 130 GPH commercial unit is modest compared to the cost of a failed health inspection or a backed-up dish line during service.
Gas capacity planning
Total the BTU input ratings on every gas appliance: ranges, fryers, broilers, steamers, combi ovens, water heaters, and any gas-fired HVAC. That sum is your minimum gas service requirement. Confirm the existing meter's capacity with your utility before finalizing equipment selections. If the meter needs upsizing, start the utility application immediately — that process runs on the utility's schedule, not yours.
| Appliance | Typical BTU input |
|---|---|
| Fryer (per vat) | 80,000 BTU/hr |
| Combi oven (mid-size) | 60,000 BTU/hr |
| Broiler | 100,000 BTU/hr |
A mid-sized cook line with a 6-burner range, two fryer vats, a combi oven, and a commercial water heater can easily exceed 700,000 BTU/hr total. Most standard gas meters in older commercial spaces are not sized for that load.
Supply piping and booster pumps
Long pipe runs from the water heater to remote fixtures lose temperature and pressure. For runs exceeding 50 feet, consider a recirculation loop to maintain hot-water temperature at the tap without wasting water. If static pressure at the meter is adequate but residual pressure drops under simultaneous load, a booster pump sized to your peak fixture-unit demand solves the problem without requiring a new service connection.
Which materials and fixtures hold up best in a commercial kitchen?
Material selection in a commercial kitchen is not a preference question. It is a code and durability question, and the wrong answer shows up as a failed inspection or a corroded drain line two years into service.
Pipe material recommendations
Waste lines: Cast iron is the preferred material for buried and above-slab waste runs in commercial kitchens. It handles thermal cycling from hot dishmachine discharge, resists the chemical exposure from cleaning agents, and dampens flow noise. Schedule 40 PVC is code-compliant in most jurisdictions for above-grade waste runs and costs less, but it is more vulnerable to heat distortion from continuous high-temperature discharge. Both materials are standard in commercial installations when specified correctly for their location.
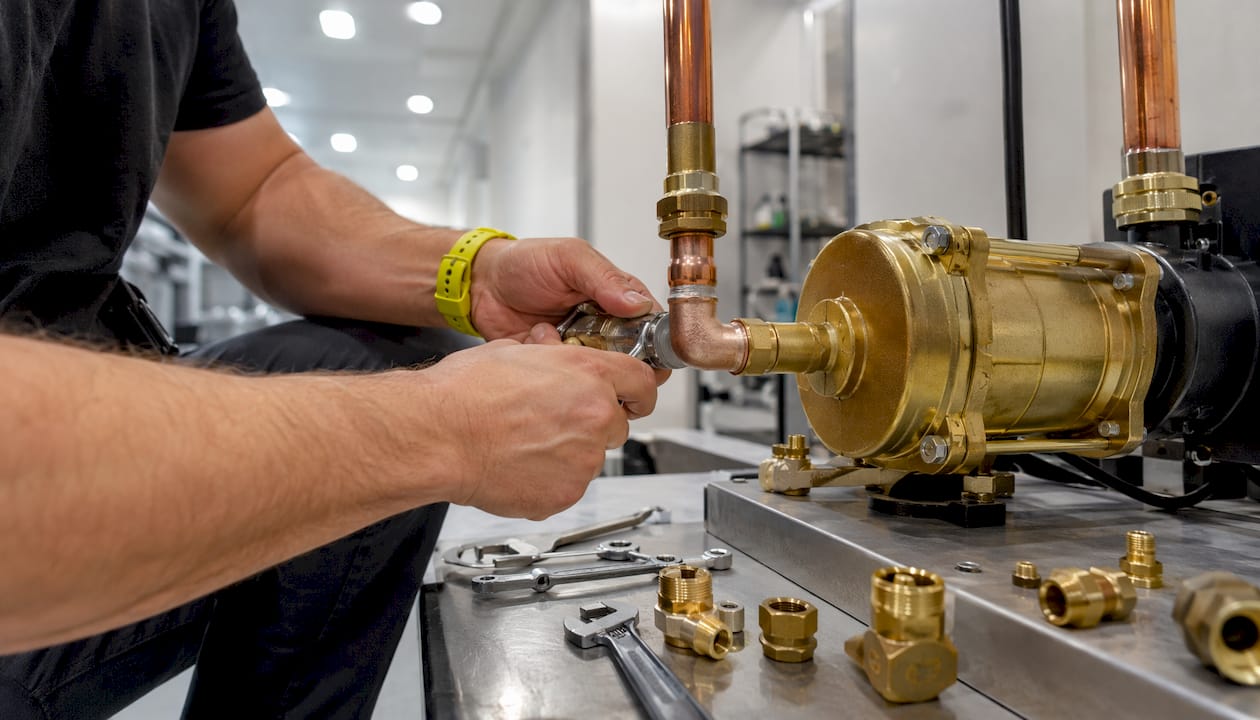
Supply lines: Copper remains the most common choice for hot and cold supply in commercial kitchens. CPVC is an acceptable alternative in many jurisdictions and costs less. PEX is increasingly used for supply runs where flexibility reduces fitting count, but confirm local code acceptance, particularly for exposed runs in commercial food-service spaces.
Fixture and valve upgrades that matter:
- Commercial-grade floor drains with removable, accessible strainers (not residential-grade drains with fixed grates)
- Pre-rinse spray valves rated at 1.15 GPM or less (required in California; best practice nationally for water efficiency)
- Properly rated mixing valves with ASSE 1016 or ASSE 1070 certification for handwash stations
- NSF-listed faucets and sinks for all food-contact and handwash applications
- Labeled ball-valve shutoffs at every major fixture group and equipment connection
Common upgrade packages to budget for:
- Grease interceptor replacement or upsizing
- Water heater upgrade to higher recovery rate or tankless hybrid
- Backflow-preventer installation and annual testing program
- Three-compartment sink replacement with NSF-listed unit and proper drain connection
Pro Tip: Require accessible cleanouts at every direction change in the waste system and labeled shutoffs at every equipment connection as explicit contract deliverables. Future repairs and inspections that would otherwise require a plumber to trace unmarked pipe runs become straightforward service calls.
What do restaurant plumbing upgrades actually cost and how long do they take?
Budget and schedule surprises kill restaurant projects. The ranges below are starting points for planning conversations with contractors, not fixed bids.
Timeline by project scope
- Quick retrofits (fixture swap, grease-trap service connection, single water-heater replacement): 1 day to 2 weeks, depending on permit requirements.
- Mid-range upgrades (interceptor replacement, supply-line rerouting, water-heater upsizing with permits): 2–4 weeks from permit approval to final inspection.
- Full upfits and repipes (new drain system, exterior interceptor excavation, gas meter coordination, full fixture installation): 2–4 months, with utility coordination often driving the longest lead time.
Cost-range table for common upgrade items
| Upgrade item | Low estimate | Typical | High estimate |
|---|---|---|---|
| Interior grease trap (installed) | $2,000 | — | $6,000 |
| Exterior interceptor with excavation | $10,000 | — | $30,000+ |
| Commercial water heater replacement | — | $6,000 | — |
| Full kitchen repipe (above-slab) | — | $30,000 | — |
| Permit and inspection fees | — | $2,000 | —+ |
| Backflow preventer (installed + tested) | $800 | — | $3,000 |
Permit and utility steps that add lead time
- Local building permit review: 1–4 weeks depending on jurisdiction and plan complexity
- Health-department review (separate from building permit in most jurisdictions): 1–3 weeks
- Gas meter upsizing application and utility scheduling: 6–12 weeks or more
- Exterior interceptor excavation permit (may require separate civil or grading permit): 2–4 weeks
- Certificate of occupancy update after final inspection: 1–2 weeks
Utility coordination risks are among the most common schedule killers in restaurant projects, and they are entirely avoidable if you start the applications before demolition begins.
How do you hire and manage a commercial plumbing contractor?
The license classification matters more than the company name. A residential master plumber with a general contractor's license is not the same as a licensed commercial plumber with documented restaurant-project experience. Treat the vetting process as seriously as you would a key hire.
Contractor vetting checklist
- Commercial plumbing license: Confirm the license classification covers commercial work in your state. Verify it is current and in good standing with the state licensing board.
- Insurance and bonding: General liability (minimum $1 million per occurrence), workers' compensation, and contractor's bond. Request certificates naming your entity as an additional insured.
- Local permit experience: Ask specifically whether the contractor has pulled permits in your municipality and whether they have a working relationship with the local building and health departments.
- Restaurant project references: Request two or three references from restaurant projects of similar scope completed in the past two years. Call them.
- Inspection pass rate: Ask directly how often their rough-in inspections pass on the first visit. A contractor who routinely fails rough-in inspections costs you time and money.
Questions to ask in a bid
- How will you stage the work to minimize service disruption, and what are your off-hours scheduling options?
- Who handles permit submittal and inspection scheduling — your team or mine?
- What materials are you specifying for waste lines and supply, and why?
- What does the closeout compliance package include (as-built drawings, test results, material certifications)?
- What is your process if a utility coordination item (gas meter, water service) delays the schedule?
Project phases to expect
- Pre-lease or pre-demo assessment and written condition report
- Design, fixture schedule, and permit submittal
- Rough-in during off-hours or scheduled shutdowns
- Equipment hookups, pressure testing, and flow verification
- Final inspection and compliance package delivery
A commercial plumbing inspection checklist gives you a concrete list of what inspectors will look for at each phase, so you can hold your contractor accountable before the inspector arrives.
What to require in the contract
The contract should specify milestone dates, an explicit allowance for utility coordination delays (with a process for adjusting the schedule), who holds responsibility for each shutoff and reconnection, and warranty terms covering both labor and materials. Demand that as-built drawings are a contract deliverable at closeout, not an optional add-on.
What does Mysticvalleyservices recommend before you commit to a space?
The pre-lease walk-through is where Mysticvalleyservices consistently finds the issues that would have derailed a project mid-construction. Bringing a master plumber to that walk-through before signing is not a precaution. It is the difference between a build-out that finishes on schedule and one that stalls for three months waiting on a gas utility.
Mysticvalleyservices pre-lease checklist highlights
- Confirm grease-trap or interceptor presence, rated capacity, and last three service dates
- Review any available as-built drawings or prior permits with the landlord
- Verify gas meter size against your projected BTU load before finalizing equipment selections
- Check water service size and meter configuration against your fixture-unit total
- Identify all main shutoffs and confirm they are accessible and functional
- Note any visible unpermitted modifications (spliced pipe runs, missing cleanouts, capped vents)
The discovery that most often stalls projects
The most common project-stopper Mysticvalleyservices encounters is an undersized gas meter in a space that previously housed a lower-volume operation. The prior tenant ran a café; the new operator plans a full cook line. The meter cannot support the BTU load, the utility application takes weeks, and the contractor cannot complete gas-line rough-in until the meter is upgraded. The result is a cascading delay that pushes the opening date by several weeks.
The staging solution: complete all non-gas rough-in work during that waiting period. Drain lines, supply lines, interceptor installation, and fixture rough-ins can all proceed while the utility processes the meter upgrade. Partial operations can often continue in a limited capacity during this window.
Pro Tip: Insist that labeled shutoffs and accessible cleanouts are written into the contract as explicit deliverables, not assumed. A future repair that requires a plumber to spend an hour tracing unlabeled pipe runs costs you far more than the 20 minutes it takes to label them at rough-in.
Staging upgrades during off-hours and prefabricating assemblies off-site are standard practice for experienced commercial teams. Mysticvalleyservices coordinates gas, water, and drainage work in sequenced windows specifically to keep partial service running during a build-out.
Key Takeaways
A compliant restaurant plumbing upgrade starts with a master-plumber pre-lease assessment, sequences grease and backflow sizing before supply and gas work, and closes with a full compliance package including as-built drawings, test results, and material certifications.
| Point | Details |
|---|---|
| Pre-lease assessment first | A master-plumber walk-through before signing prevents costly mid-project discoveries on gas and drainage. |
| Grease sizing drives the design | Size the interceptor to your fixture-unit load and menu fat content before designing any other drain zone. |
| Utility lead times are the schedule risk | Gas meter upsizing can take 6–12 weeks; submit the utility application the same week you file for permits. |
| Compliance package is a contract deliverable | Demand as-built drawings, test results, and material certifications at closeout — not as an afterthought. |
| Mysticvalleyservices for Massachusetts | Mysticvalleyservices provides pre-lease assessments, commercial upfits, and staged off-hours installations across Massachusetts. |
The case for starting with the assessment, not the demo
Most restaurant owners want to get to the exciting part: equipment selections, layout decisions, opening day. The plumbing assessment feels like a delay. It is not. Every hour spent on a thorough pre-lease audit saves days of rework once walls are open and contractors are billing.
The conventional advice to "hire a licensed plumber" is technically correct but undersells the point. The license classification, the restaurant-project experience, and the willingness to deliver a written compliance package at closeout are what actually protect you. A contractor who cannot produce as-built drawings and test results at project close is a contractor who will cost you money at your next health inspection.
Staged, off-hours work is not a luxury for large operators. It is the standard practice that keeps a restaurant generating revenue while the system behind the walls gets rebuilt. Insist on it. And insist on documentation at every phase, not just at the end.
Mysticvalleyservices handles restaurant plumbing upgrades in Massachusetts
If you are planning a restaurant build-out, a lease takeover, or a system overhaul in Massachusetts, Mysticvalleyservices delivers the full scope: pre-lease assessments, commercial upfits, grease-interceptor installation, backflow-preventer testing, and a complete compliance package at project close.
Every project includes staged work plans designed around your operating hours, permit handling from submission through final inspection, and as-built documentation your health inspector and future contractors will actually be able to use. The team coordinates gas, water, and drainage work in sequenced windows to keep partial operations running wherever possible.
To get started, request an on-site pre-lease assessment or a written remediation estimate through the Mysticvalleyservices services page. Bring your equipment spec sheets and any available as-built drawings from the landlord. The assessment gives you a clear scope, a realistic budget range, and a permit-ready plan before you commit to a space or a contractor.
For owners who want to protect the investment after the upgrade, the preventive plumbing contract options Mysticvalleyservices offers keep grease systems, backflow devices, and supply lines on a documented maintenance schedule that satisfies health-department requirements year-round.
Useful sources and further reading
The sources below back the claims in this guide and are worth bookmarking for permit questions, sizing formulas, and health-code interpretations.
- What to Expect During a Commercial Plumbing Upfit — Best for understanding the permitting sequence and what inspectors test at each milestone.
- Commercial Kitchen Plumbing: Alpha Plumbing San Antonio — Covers IPC baseline requirements, material selection, and grease-interceptor sizing methodology.
- Commercial Kitchen Plumbing: Summit Plumbing Richmond — Explains assessment methods, staging best practices, and prefabrication for minimizing downtime.
- Opening a Restaurant? Check the Plumbing Before You Sign the Lease — The most detailed public resource on pre-lease plumbing risk, meter upsizing costs, and interceptor cost ranges.
- Commercial Kitchen Plumbing: United Plumbing Greenwich — Explains the compliance-package requirement and what documentation inspectors expect at project close.
- How to Plan a Plumbing Renovation for Commercial Spaces — Mysticvalleyservices guide on scoping and sequencing a commercial renovation from assessment through permit.
- Plumbing Code Compliance Issues: What Owners Must Know — Covers local amendment traps and documentation requirements by project type.
- Commercial Plumbing Inspection Checklist — A phase-by-phase checklist owners can use to hold contractors accountable before inspectors arrive.